Showing posts with label painting. Show all posts

Wednesday, December 28, 2011

Year end review

I hope you had a wonderful Christmas!  Although we have been fighting colds and such, we were able to enjoy our Christmas.  I'll be sharing with you my big presents that I'm sure will provide the means to create much to post about for the future.  But before looking forward, I thought I would highlight some of my favorite projects from 2011.


Just some my favorite redo's from this year!  I'm excited about starting on new projects to share with you soon!

Sharing at:
   shabby creek cottage


Ivy and Elephants

{Primp}

Thursday, September 15, 2011

Ready, set, study

Okay, before I get to my newest project, I have to share something my 4 year old said to me. You see, she is my picky eater. Needless to say, dinner time isn't always fun. Yesterday I informed her that if she didn't eat any fruit or vegetables, her belly would just have to go hungry. With her strong will, that is exactly what happened. So this morning after being up for only 5 minutes, she told me, "Mama, you know it is not very polite to starve people. It will make them die." I'm happy to report that I at least got some green beans in her for lunch.

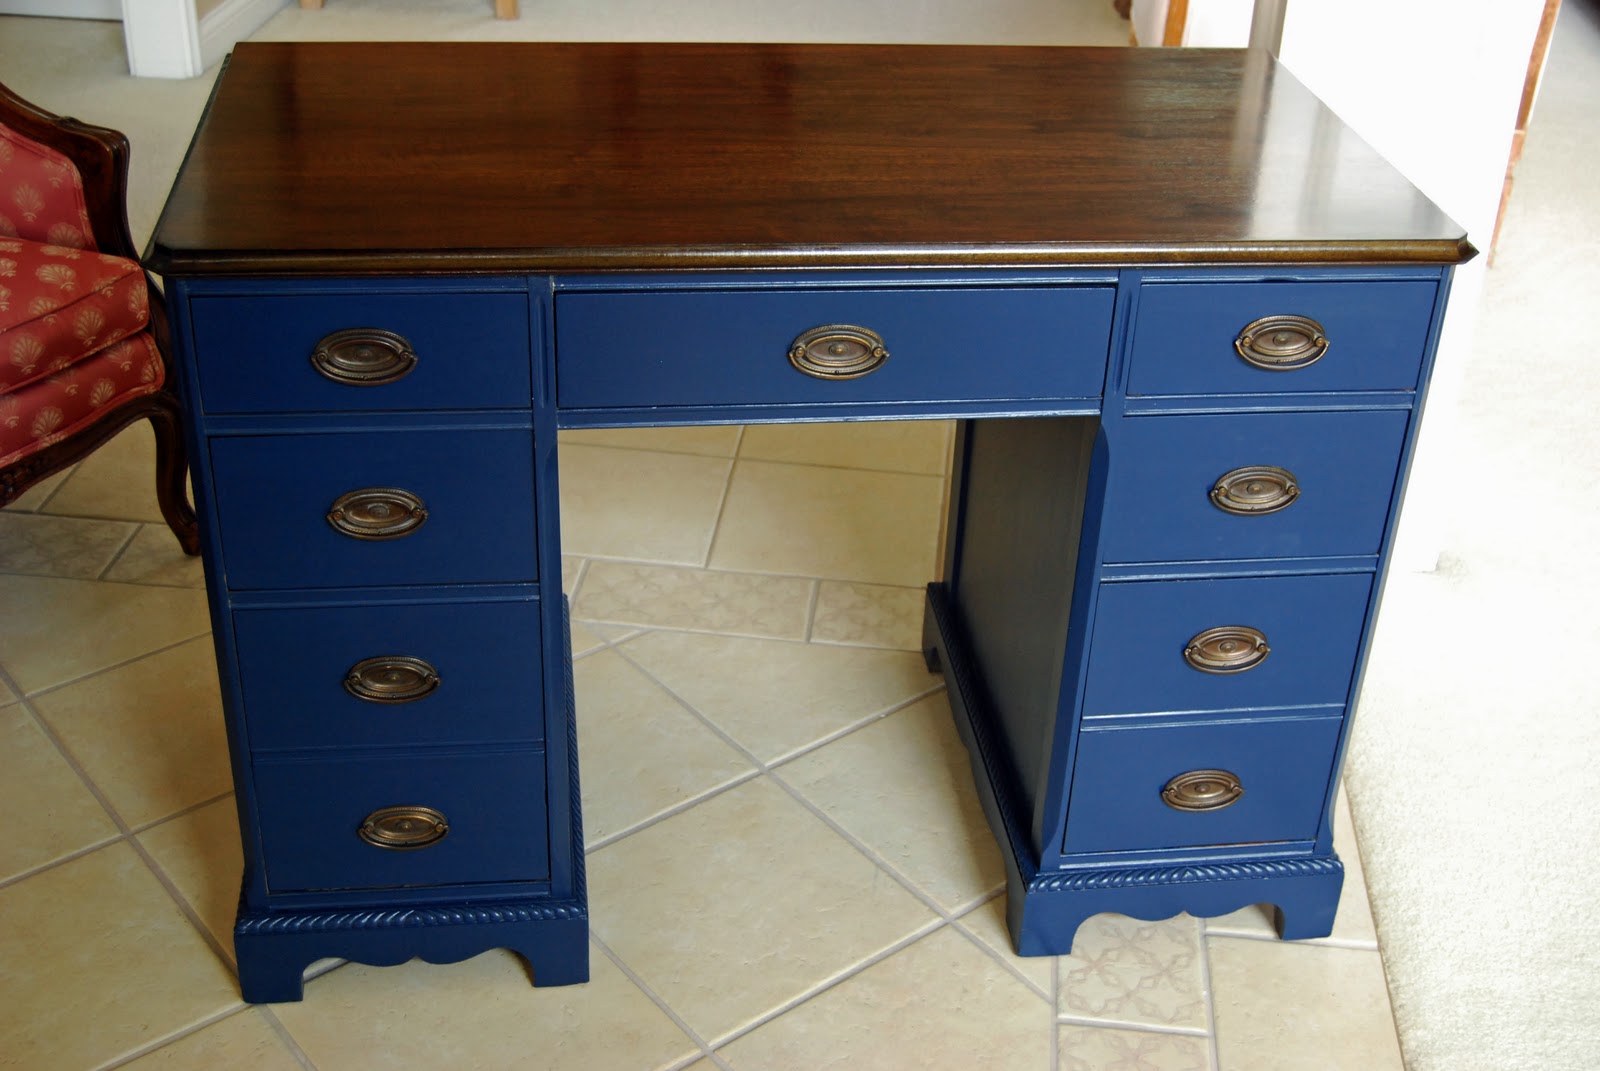
On to the latest project. My friend from church had approached me to see if I had a desk about for her son. It just so happened my mother was complaining to me to come and get this desk I had been storing in her garage. So, I guess it was going to be a win-win-win situation for all concerned. When I had spotted this desk, I new it would look great. The only qualification I put on it before buying it was the drawers had to work without a problem (and they did). So, it started out like this:


After sanding, staining, priming, and painting, it is all ready for a sweet, little boy to use.


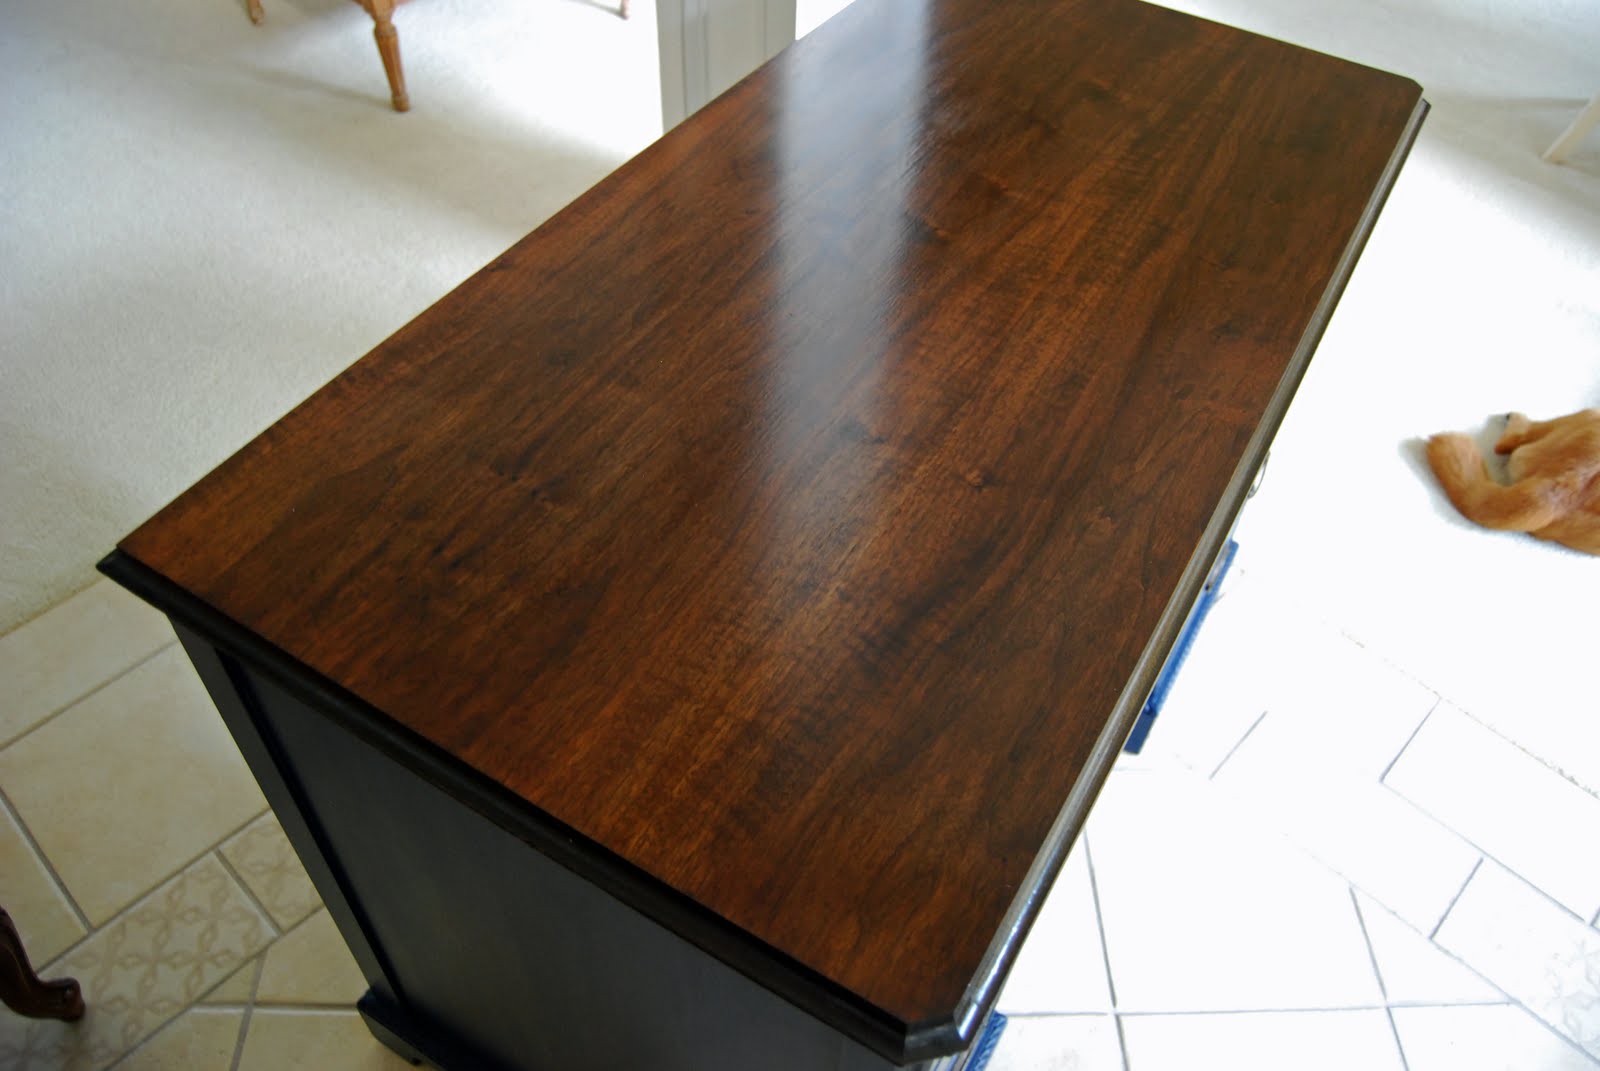
Just look how great the top turned out.  I'm hoping the little guy enjoys it. 


I plan on sharing over at:
Domestically Speaking


Transformation Thursday      Furniture Feature Fridays
Feathered Nest Friday


Wednesday, September 7, 2011

French dresser face lift

I was on a mission to get my daughter a new (to us) dresser.  Her old one used to be mine as a young girl.  After having her pull the drawer completely out every other day, I decided I had to take action.  I know you blog gals understand what I mean when I say I went shopping for a new dresser.  Yes, it meant looking at Goodwill's, Salvation Army, Craig's list, and auctions.  It is kind of scary that I never even thought about entering a furniture store.  Anyways, I came across a dresser at an auction just like this one.  Since I forgot to take a before picture, I found the exact same dresser from google images.


I decided to leave an absentee bid and to much of my surprise, I got it with a nightstand to go with it. Since it looked like the typical 60's/70ish french provincial dresser, I was surprised by just how heavy it was. You could tell she had seen better days. After cleaning her up and prepping her, the color had to be picked. When conferring with my 4 year old, her suggestions were pink and purple. A hot pink would have looked good, but I'm not quite ready to open Pandora's box with my daughter and decorating her room. So, after much persuasive discussion with the little decorator, we agreed on a nice gray. Let me just tell you, it was so hard to pick which gray. Each one looked so different depending on the time of the day. Once the color was picked, I painstakingly took my time and painted it correctly.  Without further anticipation, here is the french dresser with a new face lift.


Here is her nightstand.


I'm pretty pleased with the results.  The best thing of all is just how smoothly the drawers function.  The only problem now is that I feel like I need to paint her bed gray.  Oh well, I'll save that for another day (or week, or month).

I'm sharing over at:
 

Domestically Speaking 


Thursday, July 7, 2011

Dresser with a brand new look

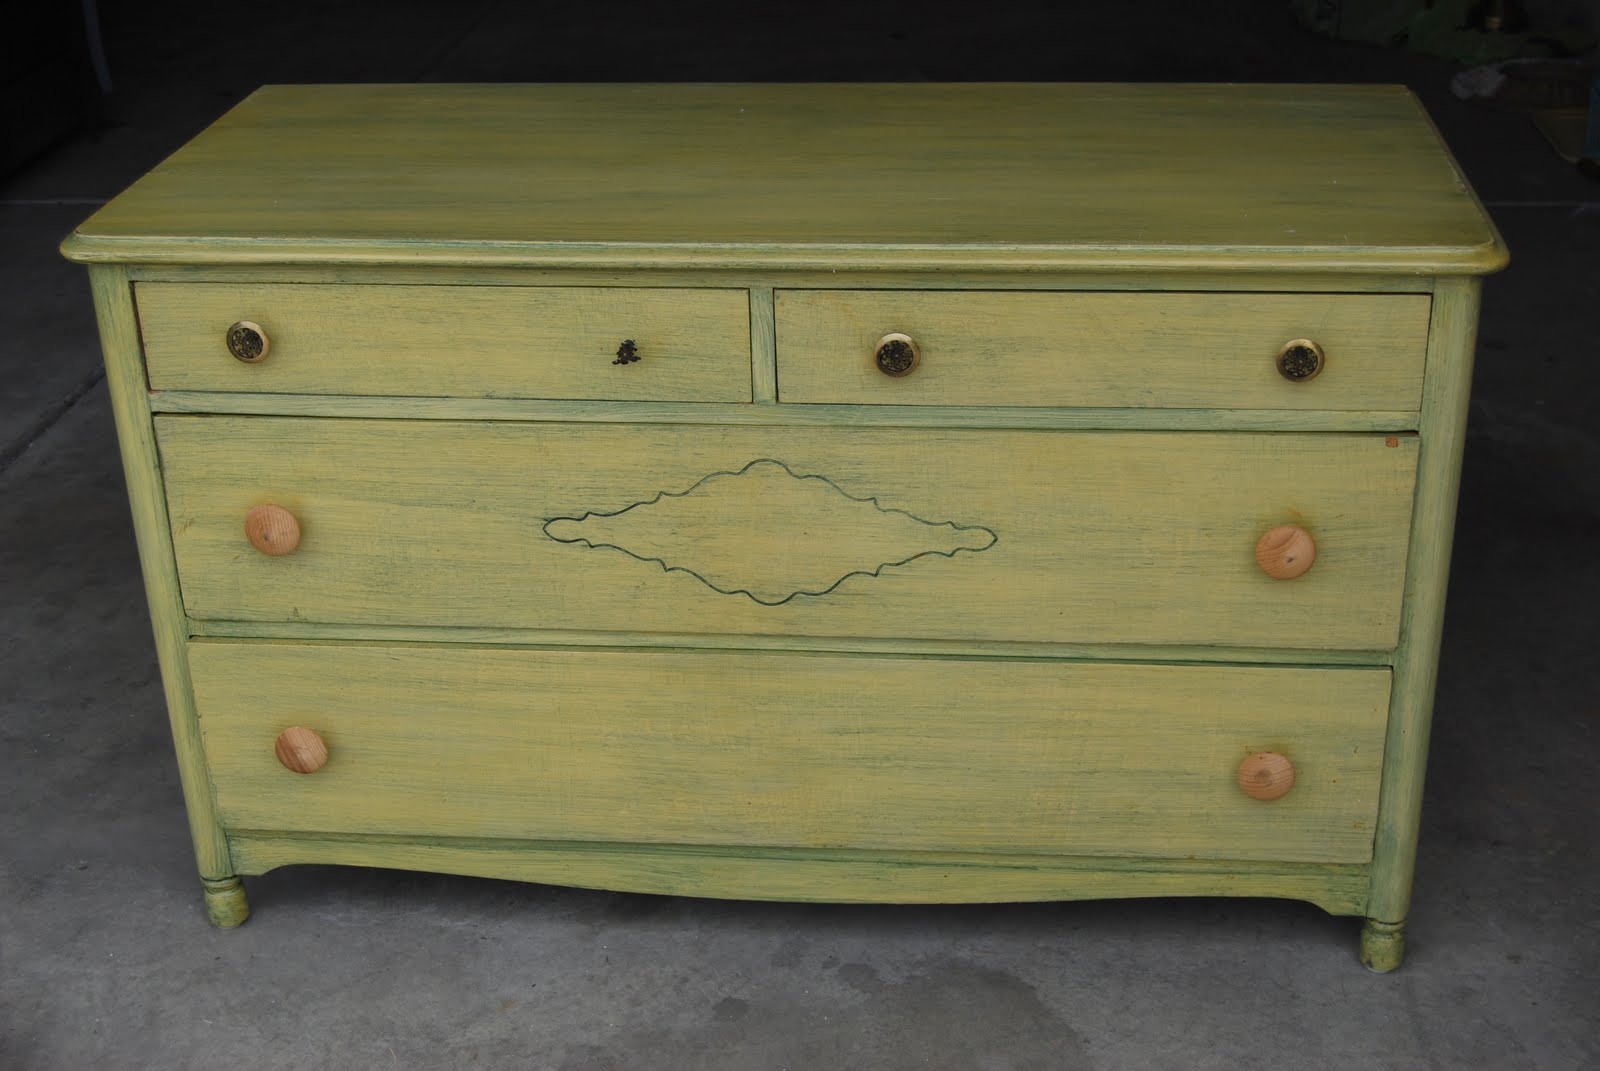
If you saw my last post, you know about my knob hiccups for this beautiful dresser I picked up for only $5.


You can see the mismatched knobs.  What isn't quite as noticeable in this photo is the crazy green paint.  It has a limish green base color with a darker green wash.  It was really odd.  That is probably why I got it for $5.  Other than the color and the knobs, it was a very sturdy, well built dresser.  Oh did I forget to say heavy too?! 

I knew this dresser was a great candidate to use my chalk paint.  When I was taking out the drawers, I felt like I was with my grandma.  All of the drawers had that smell that my grandma's make-up had.  It wasn't a bad smell at all.  In fact, it smelled tons better than most antique dresser.  Anyways, back to the transformation.  Because of the magical powers of chalk paint, I only applied one coat of Duck Egg Blue.  After a coat of wax and applying the new knobs, the dresser is transformed.  First a reminder of the knobs.


Now the whole dresser!


So much better don't you think?  I'm sharing over at:

Transformation Thursday  Furniture Feature Fridays
Frugal Friday @ The Shabby Nest
All things furniture @


Monday, July 4, 2011

Happy 4th and a project!

Happy 4th of July!


I'm sorry I've been a bad blogger this summer.  I find it hard to dive into projects with both kids demanding attention either to play with or to referee.  Needless to say, it appears that I'm not one of those blogger moms that can do it all.  I wish I could figure it out but it eludes me.

I've had this project done for a while but only got around to taking pictures of the completed piece recently.  I have some great friends.  One in particular kept me in mind before she let her dad throw an old sewing table away.  I felt honored she thought I could make this look cute (thanks Stephanie).  I believe within a half hour of her call, I was in the car ready to get my free item. 


You can see that there are some condition issues.  So, I stripped it before I painted to get a smooth finish.  I don't think you can tell from the picture but I did some light distressing. 


I'm not sure that this piece would be used as a sewing table but it sure does make a cute little side table.  I think it would look great in a beach themed room with it's soothing color.

I'm sharing over at:
Keeping It Simple Boogieboard Cottage 


Monday, May 16, 2011

White done right

I have to first start off by thanking all of your for your sweet comments regarding my union jack dresser.  It is very gratifying knowing that others feel you have done a good job! 

I have been meaning to post about this little tray table I got at the auction.  Funny thing is that I didn't realize that it was a tray table until a nice lady that has a booth in the same shop as I do told me it was.  I thought the top was just broken off the base.  She told me what she thought I should price it at.  She is very nice to give me advice on pricing and what kind of pieces she feels will sell good.  Being new to this booth venture, I greatly appreciate any advice.

Anyways, on to this sweet little tray table.  Here she is straight from the auction:


I had to glue all the joints and used twine to "clamp" it together as well as add a missing finial.  The finish was in bad shape. What better way to spruce up this little gal than with some paint. I always feel white can really freshen up a piece. Now she resides in my booth. Hopefully, her stay will not be that long before she goes to some lovely home!


Sharing over at: 


 http://linda-coastalcharm.blogspot.com/


Followers

Search This Blog