Friday, October 28, 2011

Make it extra large

I have always adored huge chalkboards.  On one of my weekly jaunts thrifting, I stumbled across this frame.


Most people would walk right past.  It's dated and odd shaped but I knew it would make a great chalkboard.  It was only $15.  I couldn't buy the materials cheaper than that for something this large. 

To make it over, I painted the frame with Annie Sloan's Pure White.  Then followed Martha Stewart's recipe for homemade chalkboard paint.  I already had the paint and unsanded grout.  Here is a hint when making your own chalkboard paint.  I used a tea strainer to mash out any lumps in the grout.  This makes it less lumpy when painting.  I applied 3 coats of the chalkboard paint with a little sanding in between.  Now that it was complete, I knew the perfect spot for it was in my stairway.


As you can see, it really is a large chalkboard.  I decided to put down some bible verses that I need to be reminded of every now and then.


It can really have a lot written on it.  I plan on putting some shorter quotes on it for my children.  Maybe now that I had to put a hole in the wall for this, I can go ahead and start planning a little photo gallery up the stairway. 

Thanks for checking it out.  I'm sharing over at:
 
Feathered Nest Friday  Funky Junk's Saturday Nite Special Stuff and Nonsense


Tuesday, October 25, 2011

Splendid blender love

Ever since I saw a post on Villabarnes about a transfer method here, I knew I wanted to give it a try.  I picked up an old jewelry box at Goodwill outlet.  It seemed the perfect candidate to give this a try. 


I gave it two light coats of Old White chalk paint.  In order to use the splendid blender marker, I printed off a graphic from the The Graphic Fairy blog using a laser copier.  Make sure if you are using words to make a mirror image copy.  Anyways, put the graphic side down on your surface.  Then, using your marker marking over the back side of the image and burnish.  I used my finger to burnish.  I was so happy how easy this was to do.  I will warn that the marker has a little odor to it.  To finish off the box, I distressed and applied a clear wax followed by a dark wax.  Here is the end result.


It is all ready to store treasures of any kind as well as making a cute decorative statement.  Now that I think about it, it would have been perfect to store old love letters.  I think that is a thing of the past now.  At least, I can show my daughter the letters her dad use to write me in high school and college.  I wonder how our kids will be storing memories like these?!  Not quite the same to pull out a jump drive verses an old shoe box.  Ah, how technology has changed everything.   

Sharing over at:
Photobucket  {Primp}

Friday, October 21, 2011

Do you sew??

Don't let the title fool you.  This post really isn't about sewing.  It is about a make over on a sewing table.  I spotted this cute little sewing cabinet for a red hot steal!  I grabbed it up.  I don't think a lot of people would actually use this as a sewing table.  It seems just too small for that but wouldn't it make a great side table? 


I didn't really care for the stain.  It had a little too much of a red tone.  Once at home, I knew I was finally going to give the Annie Sloan's Chateau Gray another try.  I had used it previously on a small project and didn't really care for it but decided to try it out on something larger.  Two coats, some distressing, and wax...


How did it turn out?  I used both clear and dark wax.  I think the key for me using the wax is to use a rag.  I know everyone says it wastes wax but I have gotten better results this way. 

I'm sharing over at:

Transformation Thursday   

Frugal Friday @ The Shabby Nest Furniture Feature Fridays  Stuff and Nonsense  Feathered Nest Friday


Tuesday, October 18, 2011

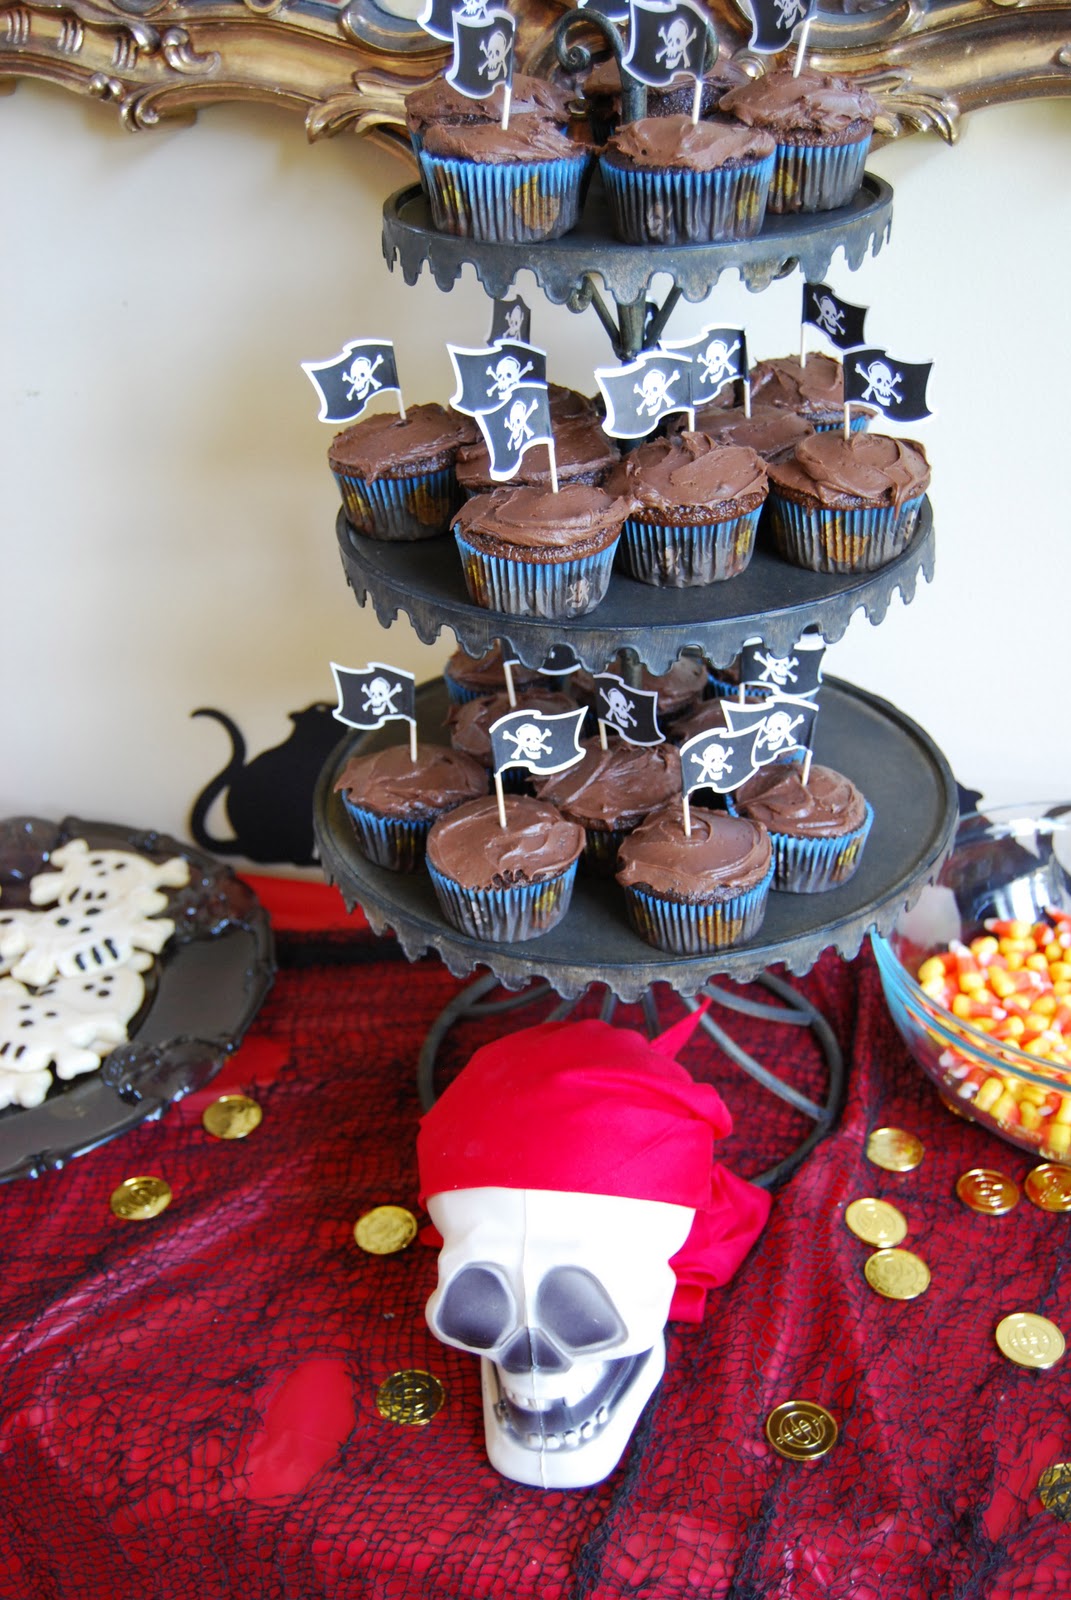
Ahoy Matey

I was in over my head on Saturday with 6-7 year old pirates.  My son had decided to have a pirates themed birthday party.  There were 19 pirates invited and 14 showed up.  I know.  What was I thinking?!  I put a lot of time into trying to plan it inexpensively.  I have to say google is a great thing.  Without it, I know I wouldn't have thought of all of the games I found from other people.

To set the scene for the party, they say it starts with the invitation.  I downloaded a rapscallion font from Dafont.com.  I printed the invite out on parchment office paper.  Then proceeded to burn the edges of each invitation.  Yes, it was time consuming but look how authentic it looked.


When each child arrived, they were given a red bandanna, eye patch, an inflatable sword, and face painted beard.  Then, they were ushered outside for games to save injury to any breakables.  Of course, it was chaotic with swords flying everywhere!

First, the boys dug up gold coins.  If the coin had a black dot, they were on the black pearl.  If not, they were on the flying Dutchman.  Once in teams, they had to get their sea legs by relay racing against the other team.  They had to run around a tree and the playground while holding a full cup of water with the goal being not spilling any water. 


Next game, we swabbed the deck by using a dollar mop and ball to race around trees and the playground in sort of a relay race. 


Of course the pirates had to walk the plank which was a 2x4 extended across two outdoor side tables.


We passed the pirates version of hot potato passing a skull instead.  Ate a lot of sugar! 


Each pirate walked away with a little goodies bag that I made by using the little black bags and printing off this graphic on fabric and adhering to the bag with a spray adhesive.  Inside they had pirate chocolate lollipops I made, pirate stickers, tattoos, and a pirate flag bead craft.


I hope all the boys had a great time being pirates for the day.  I wanted the thank you cards to be memorable.  So, I had each boy hold up an empty frame and take their picture.  Here is the photo thank you card I came up with in Photoshop elements.


Now that I have sent those off to be printed.  I have finally recovered!  The amount of energy from 14 six  to seven year old boys was off the charts or maybe I am getting old.  Any rate, I hope all the boys will remember a great pirate birthday party.

Followers

Search This Blog