Here is the best picture I could find of a similar art easel to ours.
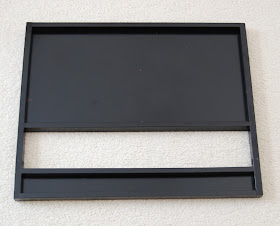
Step 1. I disassembled the chalkboard. Got the tray and spray painted it black.
Step 2. I bought metal to make a magnetic board for top. Lucky for me I had a gift card. This has made this project free for me.
Step 3. Used my Dremel 200 for the first time to cut metal down to size. I have to say I felt pretty powerful since sparks were flying. Normally, I would have run away. After I cut the metal, I glued down the metal with Liquid Nail. Let it dry over night.
Step 4. Since I didn't achieve a straight cut on the bottom, I glued on black ribbon to hide the jagged edge. I put 2 hook screws on and made pretty magnets using glass marble things and scrapbook paper. Here you have my new magnetic board. All I have to do is figure out just where I want to put it.
Stay tuned in to see what else I do with the rest of the disassembled art easel!
I'll be showing off my recycled art easel tray turned magnetic board over at:


 @
@
LOVE IT!!!
ReplyDeleteHow great to reuse the chalkboard rather than just throw it away!
ReplyDelete